For this week, we had learn about color segmentation. The aim for this lab is to identify different colors in fabric by analyzing the L*a*b* colorspace. The fabric image was acquired using the Image Acquisition Toolbox.
Now, we will explain about how to segment the color in an image.
- Step 1: Read Image
Step 2: Calculate Sample Colors in L*a*b* Color Space for Each Region
Step 3: Classify Each Pixel Using the Nearest Neighbor Rule
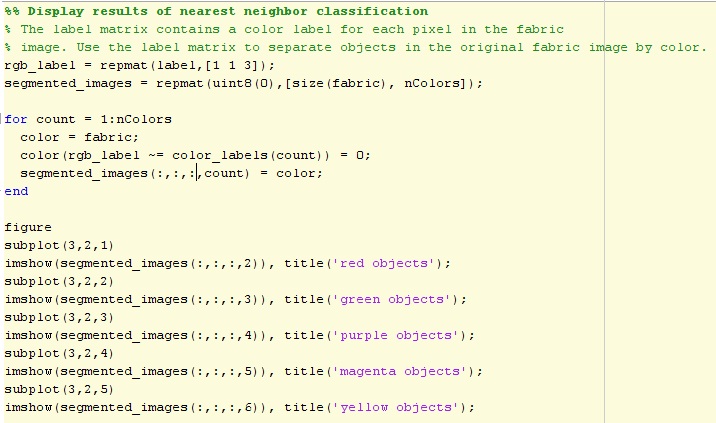
Step 4: Display Results of Nearest Neighbor Classification
Step 5: Display 'a*' and 'b*' Values of the Labeled Colors.
Step 1 : Read Image
For this lab, we used the image as below:
For this lab, we used the image as below:

fabric.png

Step 2: Calculate Sample Colors in L*a*b* Color Space for Each Region
From the above image (fabric.png), we can see that there are six colors which is black, red, green, yellow, purple and magenta. We can simply names all the color in that image, but using the L*a*b colorspace will enable us to quantify these visual differences.
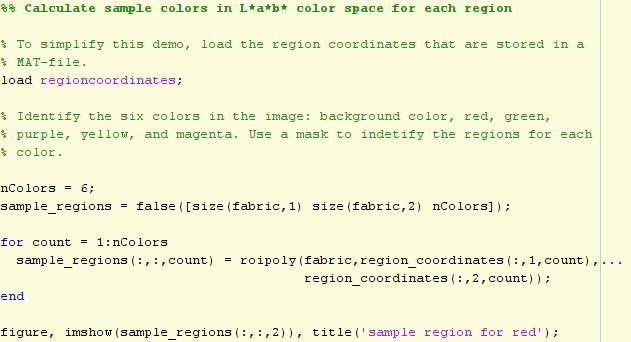
The L*a*b* space consists of a luminosity 'L*' or brightness layer, chromaticity layer 'a*' indicating where color falls along the red-green axis, and chromaticity layer 'b*' indicating where the color falls along the blue-yellow axis.
Next, we will choose a small sample region for each color in the image and calculate each sample region's average color in 'a*b" space. We will use these color markers to classify each pixel.
To convert image from RGB color space to L*a*b* color space, use the code below:

Calculate the mean 'a*' and 'b*' value for each area that we extracted and these values serve as our color markers in 'a*b*' space.

Step 3: Classify Each Pixel Using the Nearest Neighbor Rule
Each color marker now has an 'a*' and a 'b*' value. We can classify each pixel in the lab_fabric image by calculating the Euclidean distance between that pixel and each color marker. The smallest distance will tell us that the pixel most closely matches that color marker. For example, if the distance between a pixel and the red color marker is the smallest, then the pixel would be labeled as a red pixel.
Create an array that contains your color labels, i.e., 0 = background, 1 = red, 2 = green, 3 = purple, 4 = magenta, and 5 = yellow.

Step 4: Display Results of Nearest Neighbor Classification
Step 5: Display 'a*' and 'b*' Values of the Labeled Colors.

To be more focus, let see each output below:


